An underground garden irrigation system is a huge time and money saver. When and how should such a system be made?
When is the best time to make an irrigation system?
An underground irrigation system is best installed before the garden is laid out because:
it is much easier to distribute the cables and pipes below the soil surface,
you can avoid digging up flower beds.
The garden must be very precisely designed before making the irrigation system.
>> Read also: Establishing a lawn is not as difficult as you think
What should I check before making an irrigation system?
Before setting up an irrigation system, you should check parameters such as:
water composition – it must not contain any impurities, among others, mechanical particles that can lead to blockages in the pipes;
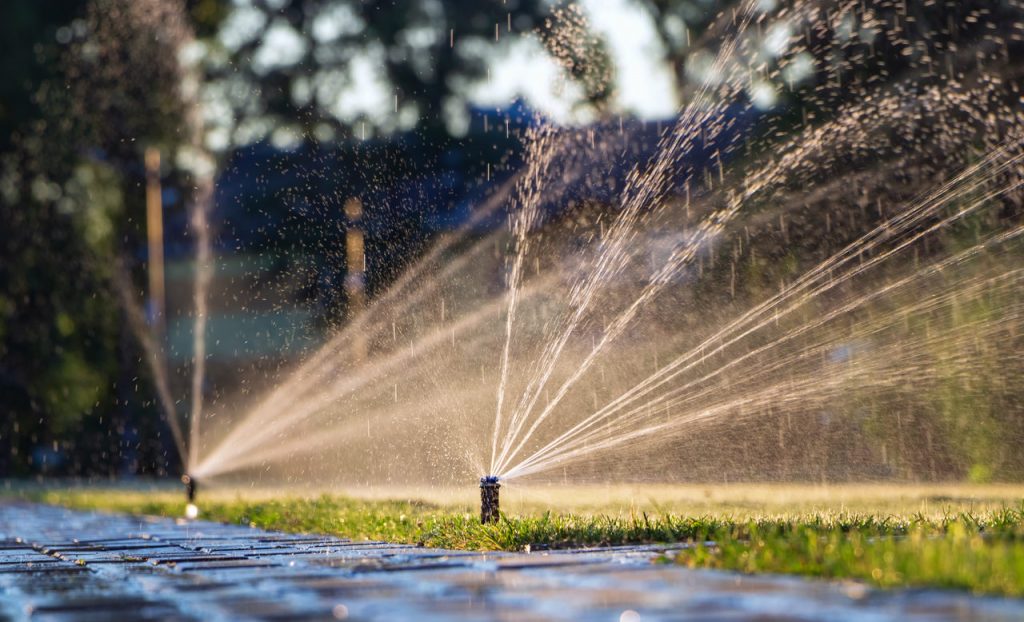
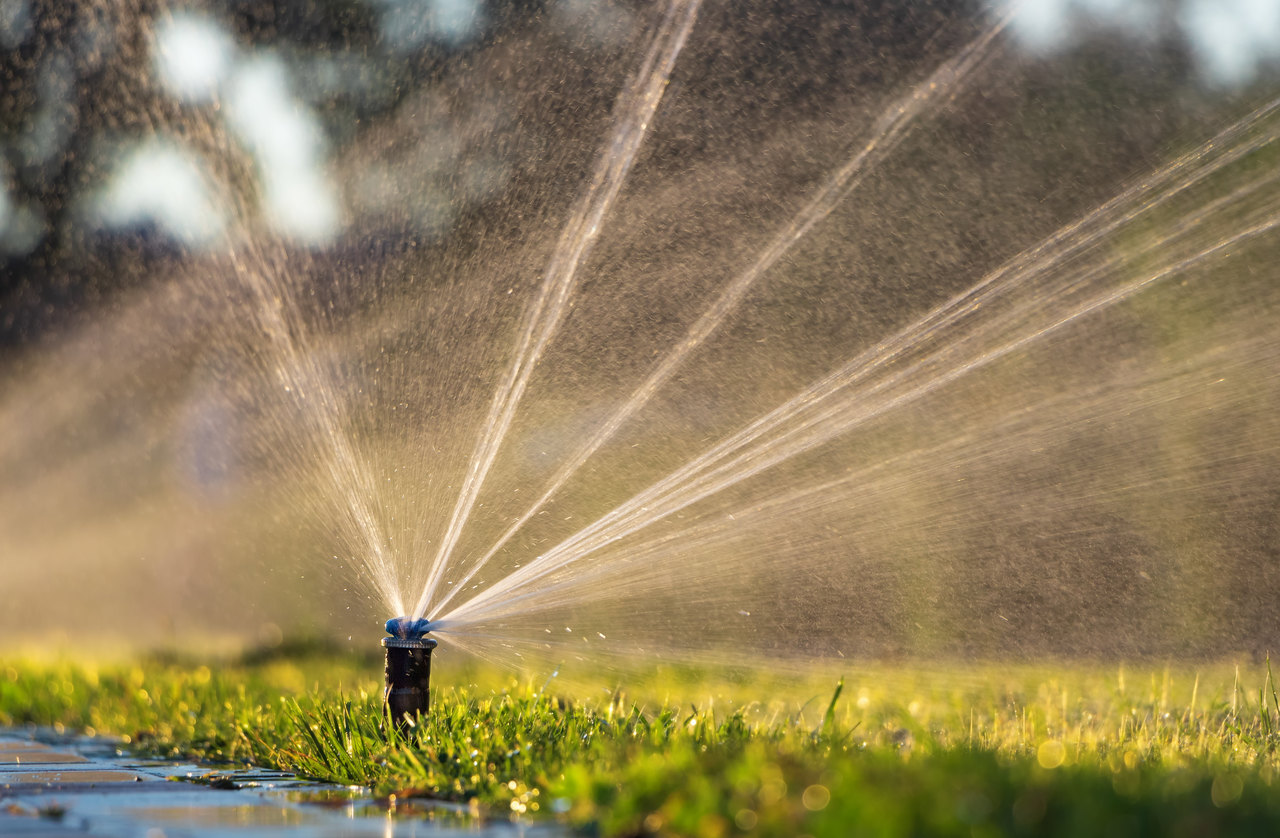
pressure – for proper operation of sprinklers requires a pressure of 2-4 bar. If it is lower, it is necessary to install an additional pump, and when it is too high, it causes faster wear and unsealing of the installation. Therefore, a pressure reducer should be fitted to each irrigation system;
output, or water flow rate – the higher it is, the more sprinklers can be connected and work simultaneously.
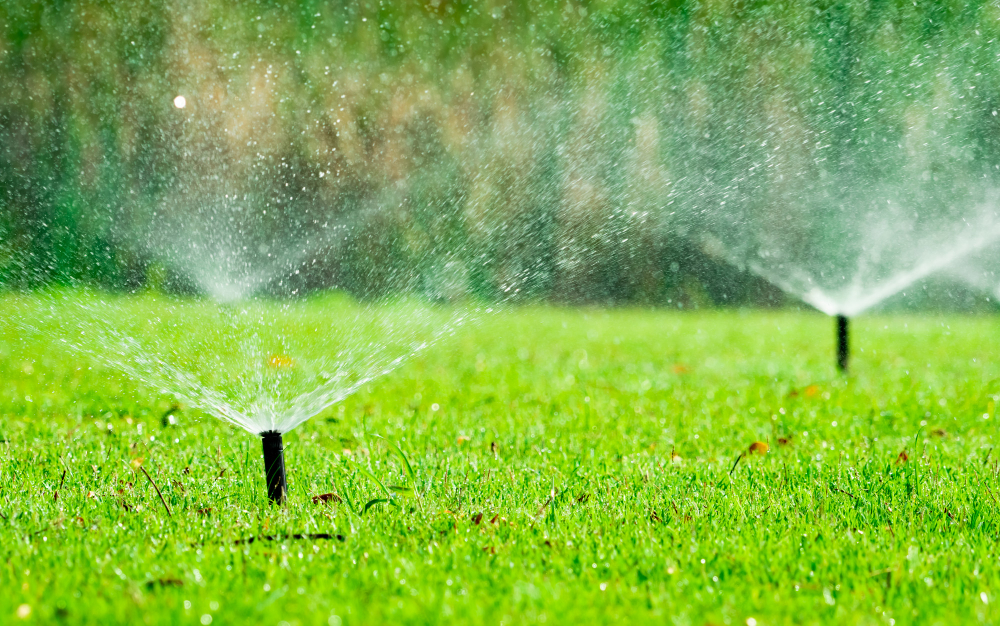
Photo by arturnichiporenko from Freepik.com
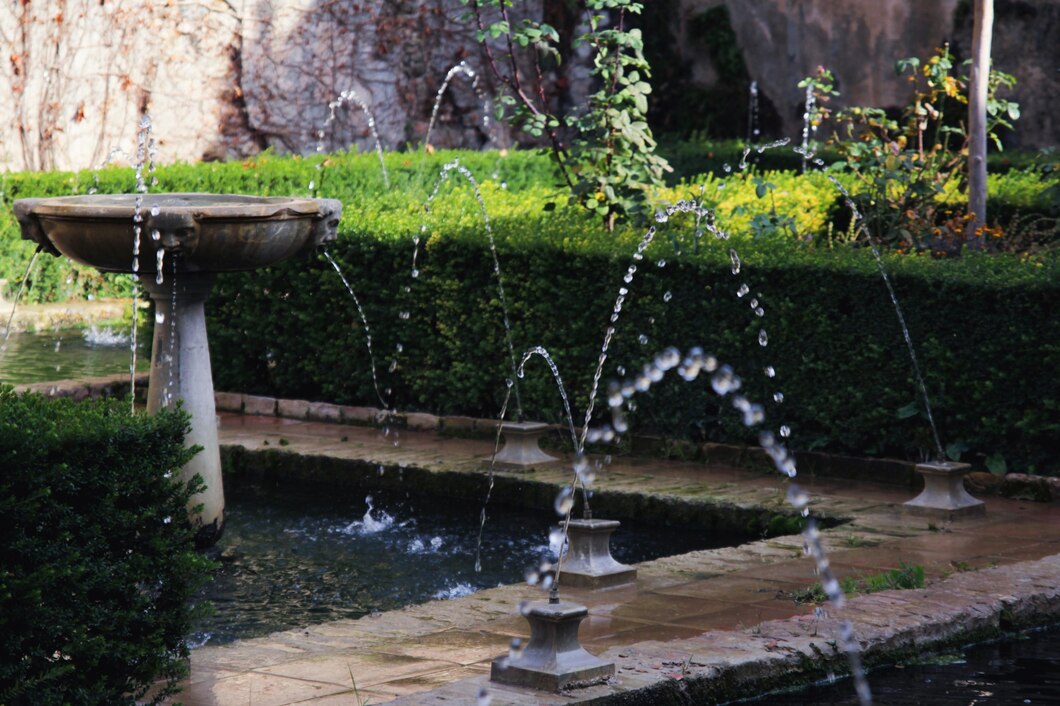
Irrigation system design
For the irrigation system to perform its function, it must consist of several independent sections, this is due to:
efficiency and water pressure,
the needs of the plants planted in the garden,
the size of the garden.
Each section consists of pipes with a diameter of 25-32 mm buried at a depth of about 30 cm. Sections supply water to sprinklers, micro-sprinklers, drip lines. One section is one device for watering. Each section must have a separate valve to turn on and off.
The underground irrigation system can be controlled manually, but it is more convenient to install controllers that manage solenoid valves, which can operate from two to a dozen sections – the range of operation depends on the model of the controller. The operation of each section must be programmed separately. After the appropriate settings, the garden will water itself.
Controllers should be equipped with:
rain sensor, which turns off the sprinklers during rainfall,
ground moisture sensor, which turns off the sprinklers when the soil is too wet.
Automatic irrigation control is a state-of-the-art solution that uses:
rain sensors;
soil moisture sensors;
an app that analyzes the weather in your area in real time:
air and soil temperature,
predicted rain,
insolation.
Once programmed, automatic irrigation control works independently. These controls can be turned off and on manually or changes can be made using an app on your smartphone.
How do I take care of my irrigation system before winter?
A drainage valve should be installed to the underground irrigation system to prevent water from freezing in winter and damaging the system. This valve is placed at the lowest point of the entire irrigation system.
Instead of a drainage valve you can install a valve to connect a compressor, which is to blow residual water out of the system
Performing an irrigation system installation in 14 steps
Want to pay less for home maintenance and take care of nature? Learn eco-friendly ways to save on your household bills and make a positive impact on the environment - here are our simple tricks!
Discover how expert design can turn your backyard into a captivating retreat. Dive into the magic of professional pool and spa design attuned with nature, assuring serenity and relaxation at your own home.