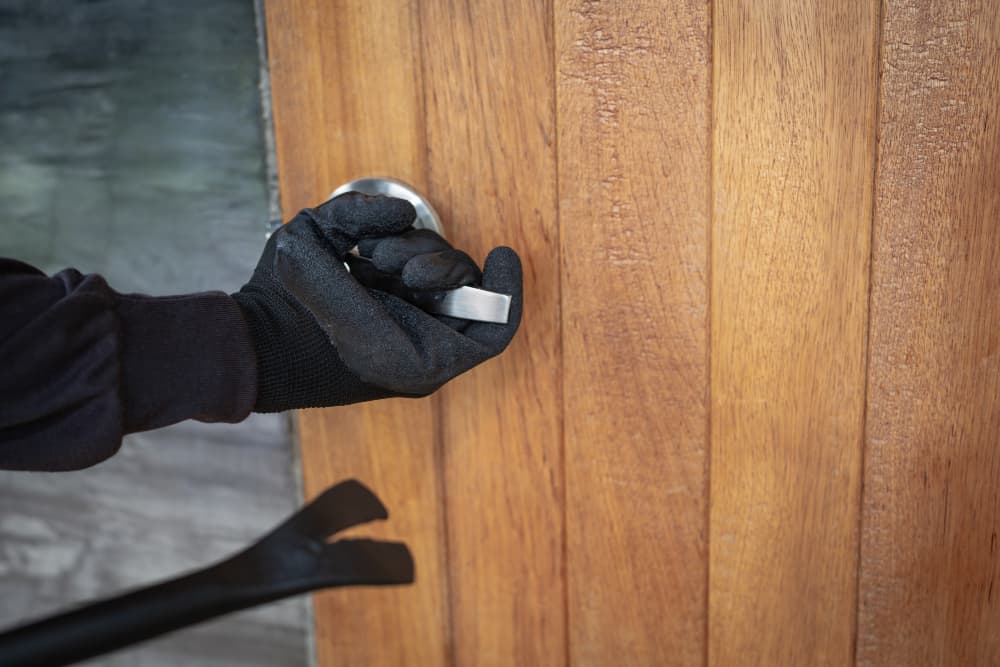
Whether you live in a block of flats or in a house, an intercom is one of the essential gadgets for security. Check out how you can easily monitor who decided to visit your humble abode
If you haven’t decided to buy an intercom yet, it’s high time – it’s good to make sure that you only let in people you know or have announced. Unfortunately, installation and programming of intercoms often causes many problems. However, you don’t have to call a specialist to cope with this task – our short instructions will suffice
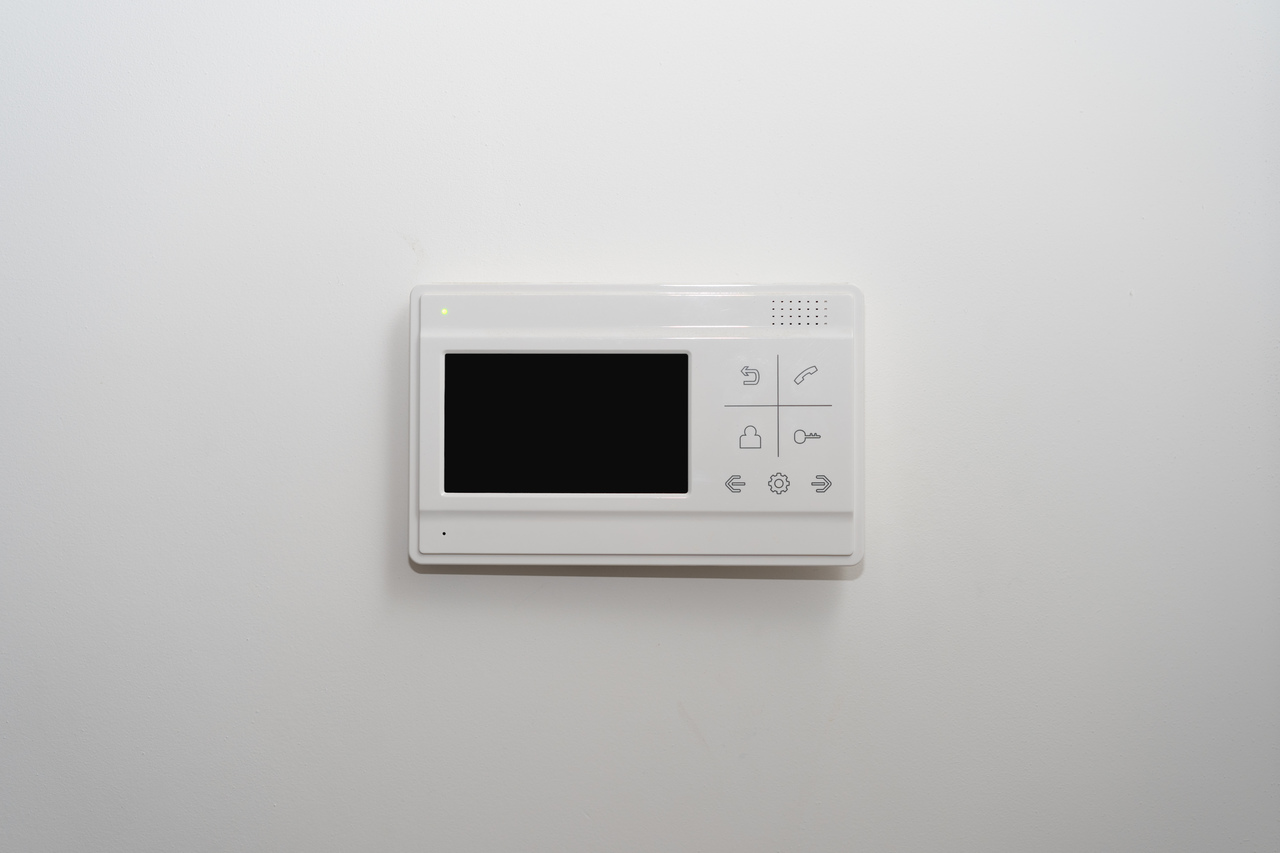
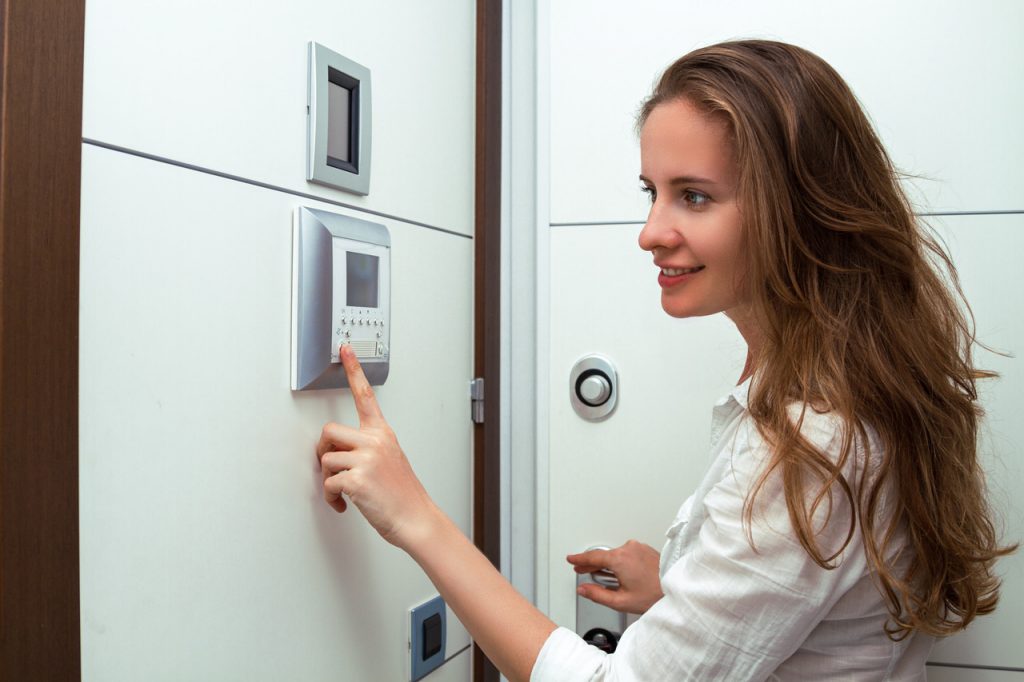
The principle of intercom is very simple – it is an electronic device used for communication over short distances. Usually it is the entrance to the staircase – apartment or the gate – house. Thanks to intercoms we can conveniently monitor any uninvited guests without leaving the house. The basic types of intercoms consist of an uniphone with a handset (the part inside the house) and a door cassette. We distinguish between digital, analogue and video intercoms
Analogue intercoms work on the principle of signal transmission using wires (between 4 and 6). A doorphone equipped with a microphone and speaker is connected by wires to the uniphone in the following way: microphone – earpiece, microphone – speaker and button – sound signal. This is the simplest version of this device, which in blocks of flats often has additional markings on the external cassette, for example business cards with the names of staircase residents
Digital intercoms are more modern versions of the device. They are characterized by a touch keypad, which you use to enter the apartment number or a special code that opens the door. This solution is more convenient especially for residents – knowing the code, they do not have to pull out the keys at the front door. Its operation is based on microprocessor technology, and the installation itself is uncomplicated – usually two or three wires are enough for the system to work efficiently
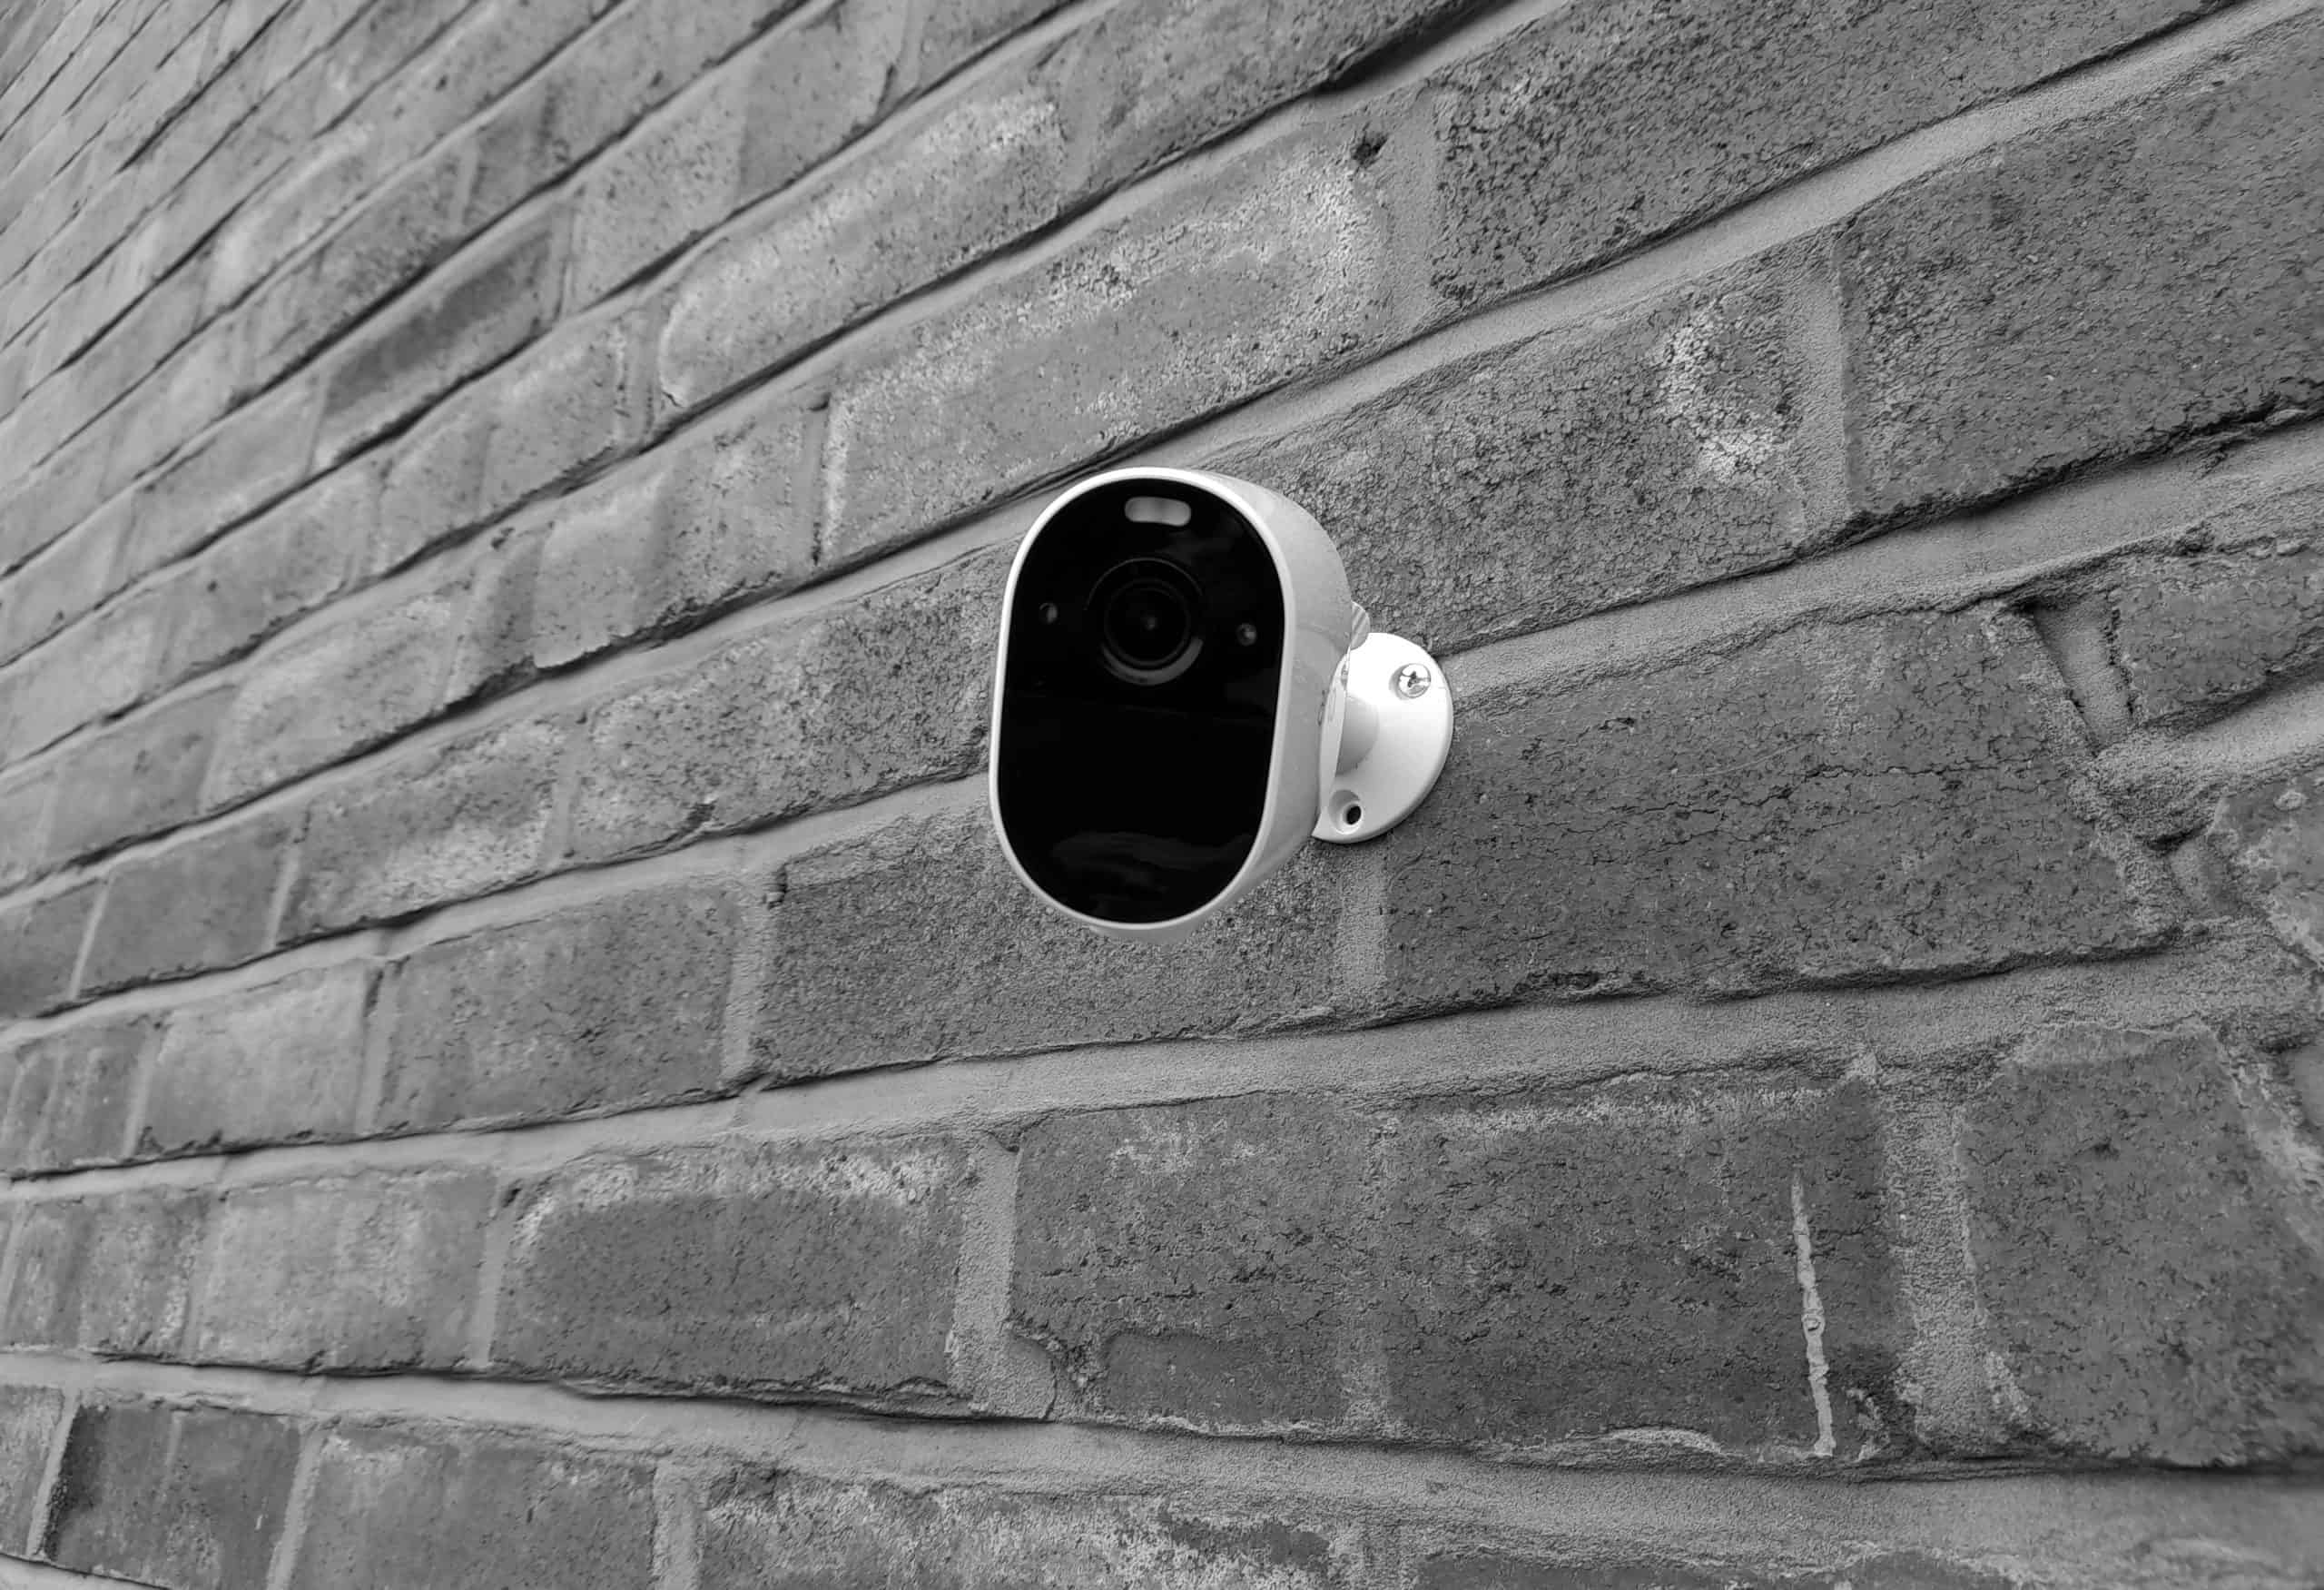
Video intercom is a device which apart from sound also transmits the image from the camera installed in the gate box to a small uniphone display. In new housing estates, where video intercoms are already installed, slipping into the staircase “on the letter carrier” is not so easy!
Intercom installation can be time-consuming – you need to mount the cassette, uniphone and properly run cables in the space around your house. If you live in a block of flats, the duty of installing the intercom falls on the housing association – so you don’t have to worry about anything except the appearance of the uniphone and whether the sound signal will be pleasant to the ears or will rather drive your household members to a premonitory state
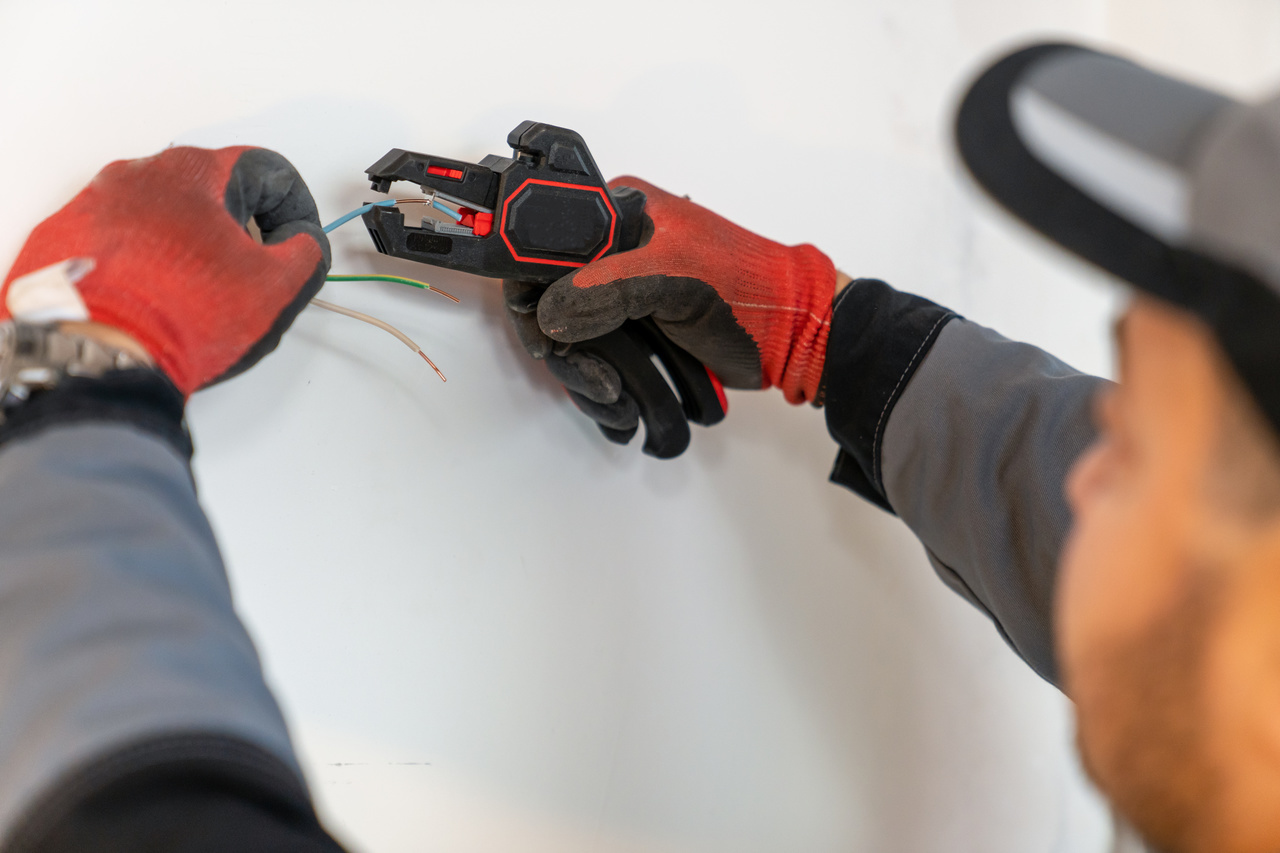
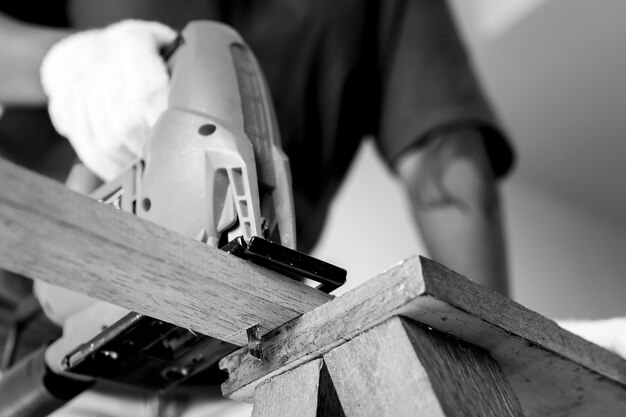
Of course, the first step of installation is to carefully study the instructions included with the device. They are often illustrated with diagrams that will make your work much easier. Since installing an intercom inevitably involves electrical work, for safety’s sake it’s a good idea to turn off the main fuse before you start playing with the wires. Also make sure you have all the tools you need to mount the cassette on the outside gate and run the wires from the outside element to the uniphone – these should also be listed in the device manual.
In the place where the cable will connect the cassette and uniphone we make a trench. The cable should be placed in the cover, leaving 20 cm free on each side (you can leave more for reserve). If you have equipped yourself with a flush-mounted cassette, you will save a lot of work – all you need are wall plugs. The flush-mount system causes more problems, because in the place of installation we have to drill a hole of the size of the cassette. Don’t forget about the place for the cable!
Uniphone is usually less problematic – it is mounted to the wall in the same way as the surface-mounted cassette. The last step is to connect by wire the appropriate elements described in the instructions